
How to Successfully Write Data Into a 0X Memory Space That Has Been Referenced by an Instruction
How to Successfully Repair a PC That Fails to Start Correctly - Now Resolved
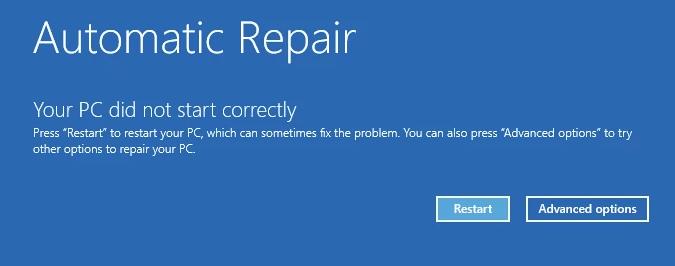
Many Windows 10 users are experiencing an issue with their computer. What actually happens is they get a blue screen and an error message that says “Automatic Repair: Your PC did not start correctly “. A lot of the time, this happens after upgrading to Windows 10.
If you’re also experiencing this error, you’re no doubt very frustrated. But don’t worry. This error is fixable…
Try these fixes
You may not have to try them all; just work your way down the list until you find the one that works for you…
Fix 1: Run Startup Repair
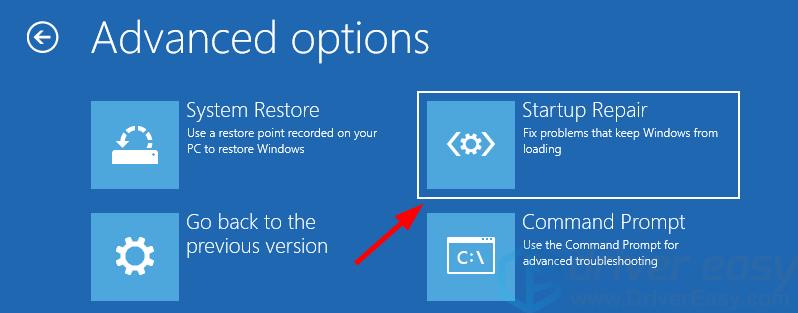
Startup Repair scans your Windows 10 computer and tries to diagnose and fix your computer issue. To run this tool:
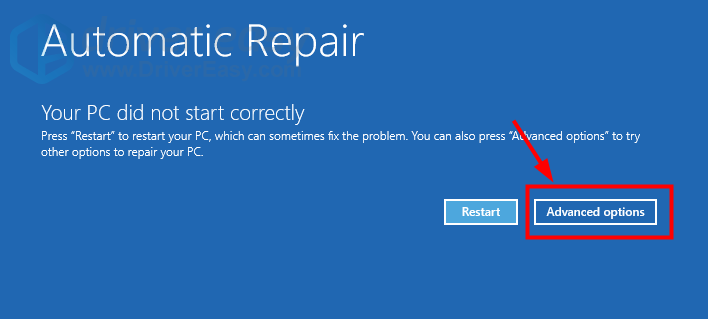
- On the error screen, clickAdvanced options .

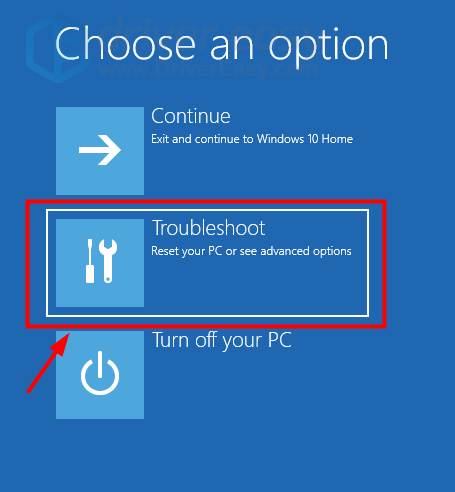
- Click Troubleshoot .
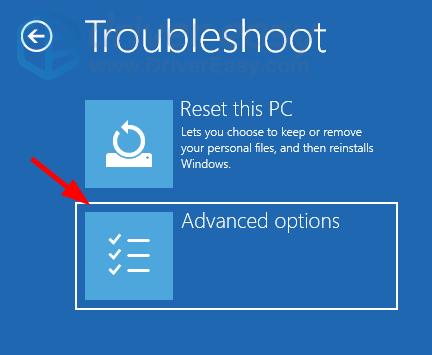
- SelectAdvanced options .
4. SelectStartup Repair .
5. Choose your account name and enter your password.
6. Wait for the process to be complete.
If this works for you, great! But if not, you may need to…
Fix 2: Restore from a system restore point
You can fix this error by restoring your Windows 10 computer to a previous state. To do this, you’ll need to use a restore point. Here’s how:
This method works only if you have a restore point created before the error occurs.
- On the error screen, clickAdvanced options .
- Click Troubleshoot .
- SelectAdvanced options .
4. SelectSystem Restore .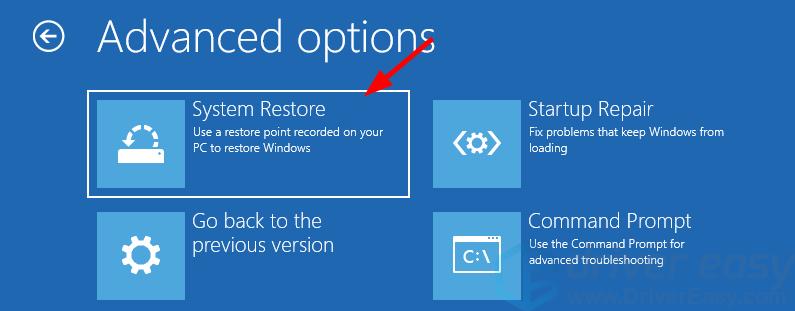
5. Follow the on-screen instructions to restore from a system restore point.
You may need to try different restore points to see if there is any that can fix your error.
Hopefully one of the fixes above worked for you. If you have any questions or suggestions, feel free to leave us a comment below.
Also read:
- [New] Dusk Rising The Fade Out Process
- [New] Prime Routes Transforming Pinterest's Vids Into MP3s
- Building a Winning Portfolio with Windows 11 Video Editing Skills for 2024
- Comprehensive Guide To Fix: Unresponsive Audio Jack on PC & Laptop
- Dealing With Displays That Don't Recognize Pen or Touch Inputs: A Step-by-Step Guide
- Discover the Ultimate List of Image Recovery Apps for Both PC and Apple Users
- Efficient Solutions for Fixing Persistent Windows ([Solved] - Not Updating) Glitches
- Fixing the Freeze: Steps to Successfully Complete a Stagnant Windows 11 Update
- From Isolation to Connection: PC+Headphones Resume Talking
- How To Bypass the 10K Char Threshold?
- In 2024, Inside Out The 100% Complete Theta S Study
- In 2024, Prime 7 Free Screen Recorders for Old Computers
- Masterclass in Der Erstellung Von Windows Server
- Resolving the Stuck Loading Screen Problem in Destiny 2 Quickly and Easily
- Top Essentials: The Ultimate Checklist for Your Summer Everyday Carry Kit
- Troubleshooting Guide: Why Is My Screen Not Recognizing the Input Signal Timing?
- Unstick Your Windows 11 Installation From 99% - Expert Tips & Tricks
- What to Do When the Latest Windows 11 Version 1607 Update Won't Install Successfully?
- Wireless Methods for Moving Your Information From Android Devices to an iPhone
- Title: How to Successfully Write Data Into a 0X Memory Space That Has Been Referenced by an Instruction
- Author: Anthony
- Created at : 2025-02-13 00:35:07
- Updated at : 2025-02-16 16:45:47
- Link: https://win-howtos.techidaily.com/how-to-successfully-write-data-into-a-0x-memory-space-that-has-been-referenced-by-an-instruction/
- License: This work is licensed under CC BY-NC-SA 4.0.