
Guide to Solve Connection Errors with Remote Servers
Bid Farewell to the Incessant Cursor Twinkle with These Proven Solutions
The constant blinking of the mouse pointer can be an annoying issue. Fortunately, there are several solutions you can try to resolve this problem.
In this article, we’ll explore four potential fixes that can help you get rid of the irritating blinking cursor.
4 fixes to try
You may not have to try them all; just work your way down the list until you find the one that works for you.
- Run the keyboard troubleshooter
- Adjust your pointer speed
- Update your mouse and/or keyboard driver
- Check for Windows Updates
Fix 1: Run the keyboard troubleshooter
The keyboard troubleshooter is a built-in utility in Windows designed to identify and automatically rectify common keyboard or mouse errors. To use this troubleshooter, follow these steps:
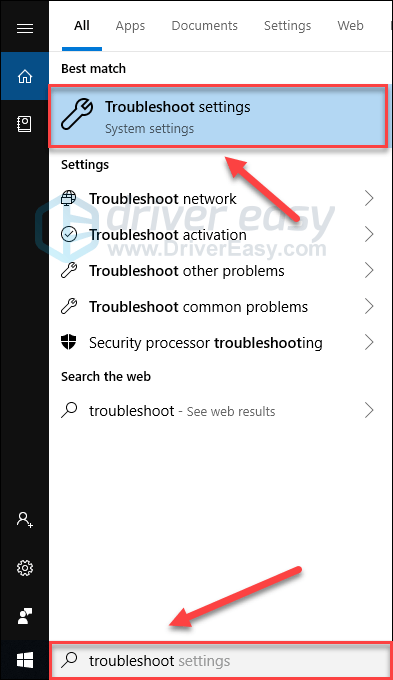
1) On your keyboard, press the Windows logo key and type troubleshoot . Then, select Troubleshoot settings .
2) Click Keyboard , then clickRun the troubleshooter .
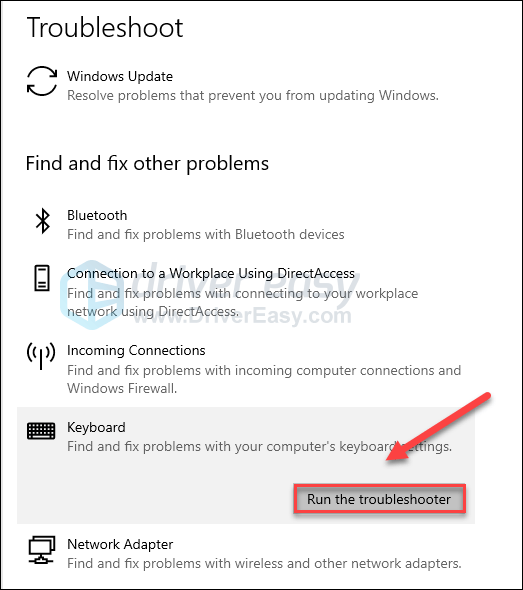
3) Wait for Windows to detect and fix your issue automatically.
If Windows fails to detect your problem, don’t worry. Move on to the fix below.
Fix 2: Adjust your pointer speed
The issue with the blinking cursor may happen when the pointer speed is set too high. If that’s the problem for you, you should adjust your pointer speed. Follow the instructions below to see how to do it:
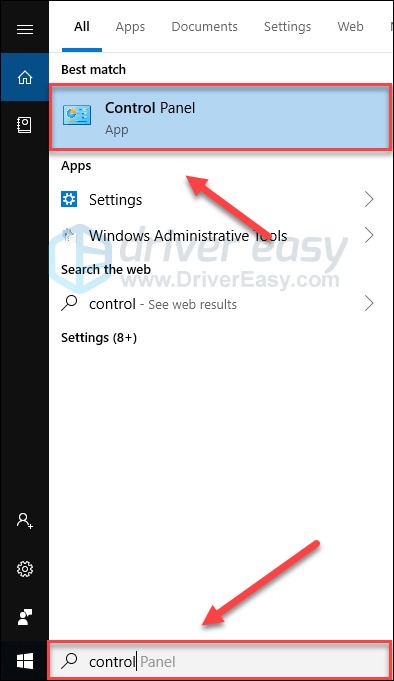
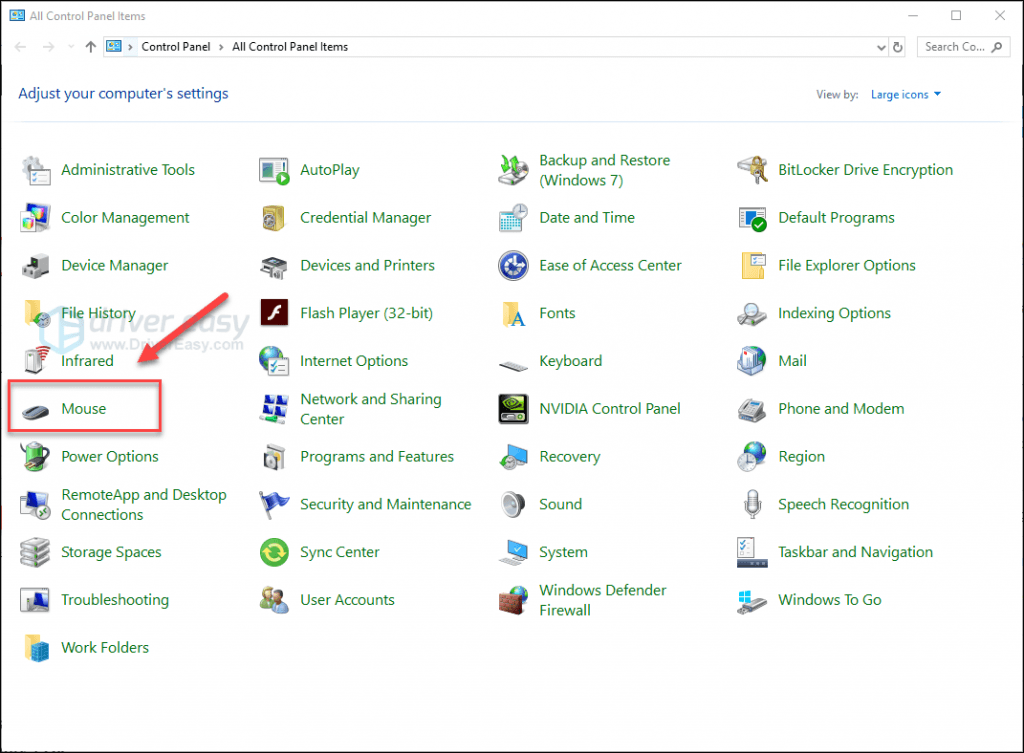
1) On your keyboard, press the Windows logo key and type control. Then click Control Panel.
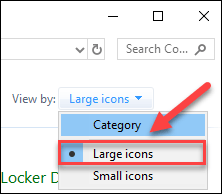
2) UnderView by , select Large icons .
3) ClickMouse .
4) Adjust your pointer speed to a proper place, like in the very middle. Then click Apply > OK .
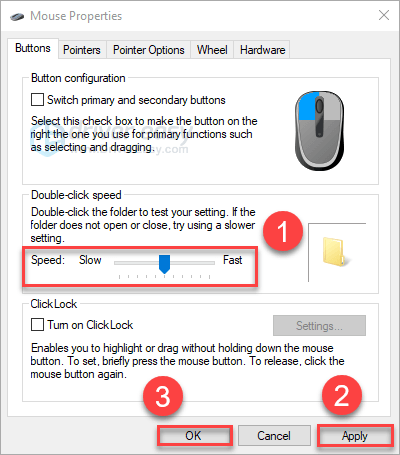
5) Check to see if your mouse can work properly now.
If your problem persists, try the fix, below.
Fix 3: Update your mouse and/or mouse driver
This issue might occur when you’re using a faulty keyboard or mouse driver, or the driver is outdated. To keep your mouse working smoothly, it’s essential that you have the latest correct driver at all times.
There are two ways you can get the right driver for your keyboard and mouse:
Option 1 – Manually – You’ll need some computer skills and patience to update your drivers this way, because you need to find exactly the right driver online, download it and install it step by step.
OR
Option 2 – Automatically (Recommended) – This is the quickest and easiest option. It’s all done with just a couple of mouse clicks – easy even if you’re a computer newbie.
Option 1 – Download and install the driver manually
The manufacturer of your keyboard and mouse keeps updating drivers. To get them, you need to go to the manufacturer support website, find the driver corresponding with your specific flavor of Windows version (for example, Windows 32 bit) and download the driver manually.
Once you’ve downloaded the correct drivers for your system, double-click on the downloaded file and follow the on-screen instructions to install the driver.
Option 2 – Automatically update your mouse and/or keyboard driver
If you don’t have the time, patience or computer skills to update the driver manually, you can do it automatically with Driver Easy .
Driver Easy will automatically recognize your system and find the correct drivers for it. You don’t need to know exactly what system your computer is running, you don’t need to risk downloading and installing the wrong driver, and you don’t need to worry about making a mistake when installing.
You can update your drivers automatically with either the FREE or the Pro version of Driver Easy. But with the Pro version it takes just 2 clicks:
1) Download and install Driver Easy.
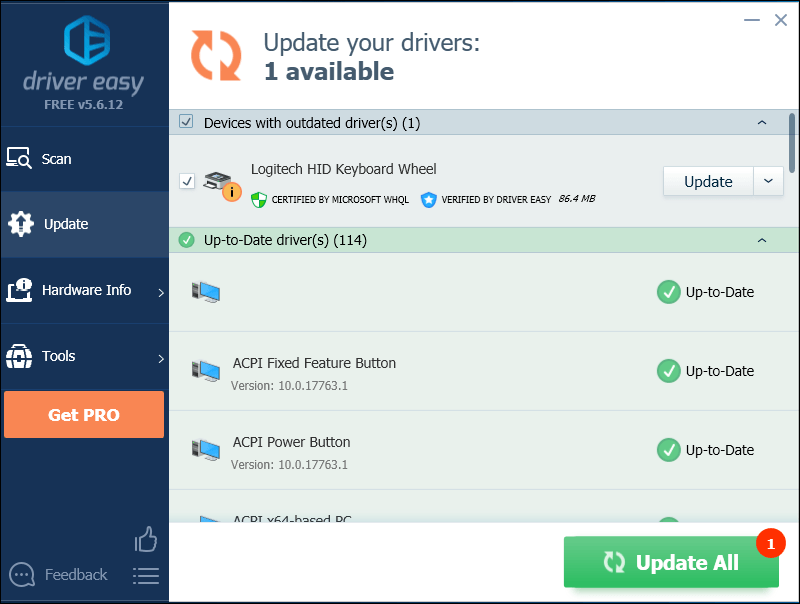
2) Run Driver Easy and click the Scan Now button. Driver Easy will then scan your computer and detect any problem drivers.

3) Click Update All to automatically download and install the correct version of_all_ the drivers that are missing or out of date on your system (this requires the Pro version – you’ll be prompted to upgrade when you click Update All).
You can do it for free if you like, but it’s partly manual.
If you need assistance, please contact Driver Easy’s support team at [email protected] .
Fix 4: Check for Windows Updates
If none of the fixes above worked, updating your system is very likely the solution to your issue. In most cases, Windows updates can address bugs related to both hardware and software. Here is how to do it:
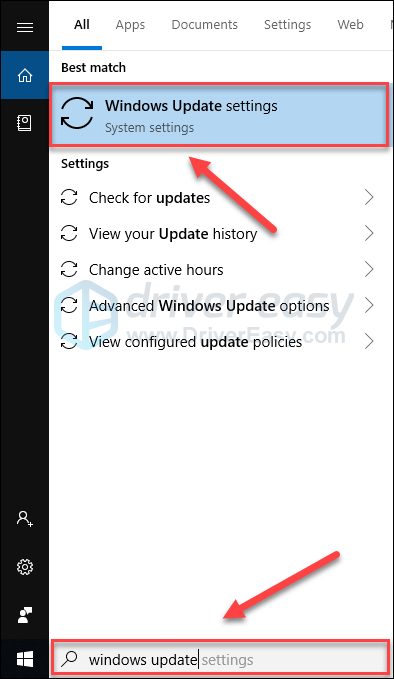
1) On your keyboard, press the Windows logo key. Then, type windows update and select Windows Update settings .
2) Click Check for updates, and then wait for Windows to download and install the updates automatically.

3) Restart your computer after the update is complete.
Hopefully, this article helped in resolving your issue. If you have any questions or suggestions, please feel free to leave a comment below.
Also read:
- [New] Innovative Techniques for Compelling YouTube Beginnings
- [Updated] 2024 Approved 7 Creative Thumbnails Free Tools for YouTube
- [Updated] How to Farewell Your Instagram Presence Permanently
- AOMEI Backup: Your Trusted Partner in Data Protection
- Clear the Shadows: Expert Tips for Overcoming Black Screen Glitches in Windows 11
- Easy Fixes for a Non-Functional USB on an HP Laptop - Now Working!
- How to Fix 'Requested Operation Failed' On Windows Protection Service
- How To Fix a Hanging Window 10 System: Step-By-Step Guide
- How to Stop Total War Rome Remastered From Crashing - Ultimate Guide & Solutions
- In 2024, How to Unlock Xiaomi Redmi Note 13 Pro+ 5G Bootloader Easily
- In 2024, Two Ways to Track My Boyfriends Xiaomi 13T Pro without Him Knowing | Dr.fone
- New 2024 Approved Top 5 Best VR Video Converters How to Convert Regular Videos to VR
- Solution Steps for Intel's Faulty Driver & Support Utility Crashes in Windows Computers
- The Game of Life and How to Play It | Free Book
- The Ultimate Guide to Restoring System Health in Windows 11 via SFC/DSIM Strategies
- Troubleshooting Intermittent Screen Glare on Your Windows 11 Device
- Unraveling the Mystery: Understanding Auto-Boot in Windows 10 Systems
- Windows Operating System Lacks Visual Brightness Tool
- スポーツブルのオンラインコンテンツを有償・無償でダウンロードする方法
- Title: Guide to Solve Connection Errors with Remote Servers
- Author: Anthony
- Created at : 2024-12-23 07:25:59
- Updated at : 2024-12-27 21:28:43
- Link: https://win-howtos.techidaily.com/guide-to-solve-connection-errors-with-remote-servers/
- License: This work is licensed under CC BY-NC-SA 4.0.