
Diagnosing and Correcting Kernel Panic Code 144 - A Comprehensive Walkthrough
Fix a Malfunctioning Dell USB Port - Quick and Effective Solutions Inside
If your Dell PC can’t detect or recognize your USB device when you plug it into the USB port, here are 4 simple troubleshooting steps for you. They have worked for many people.
Try these steps
You may not have to try them all; just work your way down the list until you find the one that works for you.
- Use a different USB port
- Disconnect and reconnect your power cord (for laptop)
- Check your power management settings
- Update your USB driver
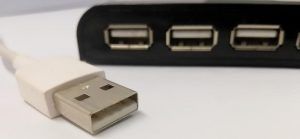
Step 1: Use a different USB port
USB performance issues may occur if the USB port you plug your USB device into is dusty or damaged. You can try switching your USB device to a different USB port.
If all your USB ports aren’t working, try Step 2, below.
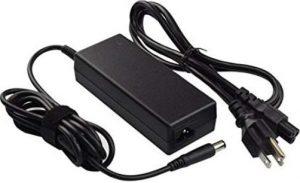
Step 2: Disconnect and reconnect your power cord (for laptop)
If your Dell laptop has any problem with the power supply, the USB ports on your laptop may stop working. To check for power supply issues, you can follow these steps:
- Disconnect the AC adapter or power cord from your laptop.

- Restart your computer.
- Plug your USB device into your laptop.
- Reconnect the AC adapter or power cord.
- Check if your USB device works now. If not, try Step 3, below.
Step 3: Check your power management settings
It’s also possible that Windows switches off your USB controllers when they’re not in use to save power, and “forgets” to switch them on when they’re needed. You can take these steps to have a check:
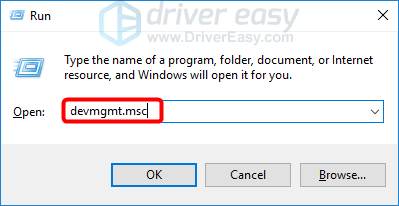
- On your keyboard, press theWindows logo key and R at the same time to invoke the Run box.
- Type devmgmt.msc and press Enter.
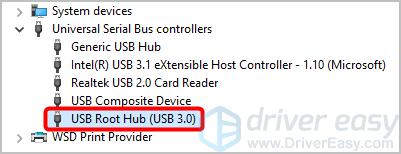
- Expand the Universal Serial Bus controllers entry.
- Double-click on the (first) USB Root Hub (if you have more than one).
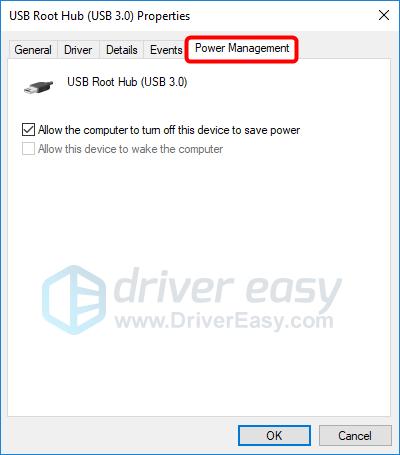
- Click thePower Management tab.
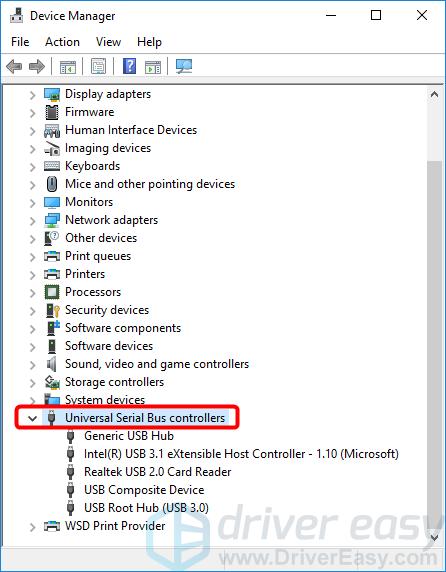
6. Verify that the check box beside Allow the computer to turn off this device to save power is clear, then clickOK .
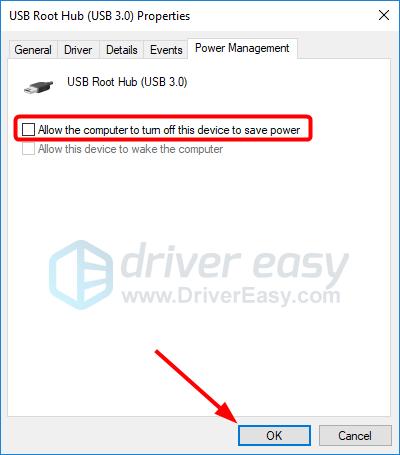
7. Repeat steps 4-6 above for otherUSB Root Hub s (if you have more than one) underUniversal Serial Bus controllers .
- Check if your USB port works properly now. If not, try Step 4, below.
Step 4: Update your USB driver
If the steps above didn’t work for you, the most likely cause is a USB driver problem.
Fortunately, this is also one of the easiest problems to fix.
There are two ways to update your USB driver:manually andautomatically .
Update your USB driver manually — You can update your driver manually by going to the hardware manufacturer’s website and searching for the latest driver for your USB device. But if you take this approach, be sure to choose the driver that’s compatible with the exact model number of your hardware, and your version of Windows.
or
Update your USB driver automatically — If you don’t have the time, patience, or computer skills to update your driver manually, you can, instead, do it automatically with Driver Easy . You don’t need to know exactly what system your computer is running, you don’t need to risk downloading and installing the wrong driver, and you don’t need to worry about making a mistake when installing. Driver Easy handles it all.
- Download and install Driver Easy.
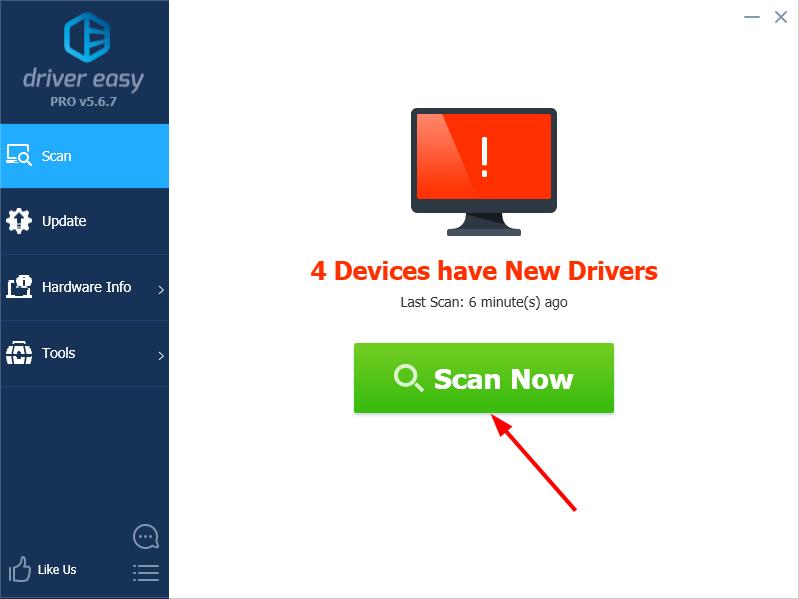
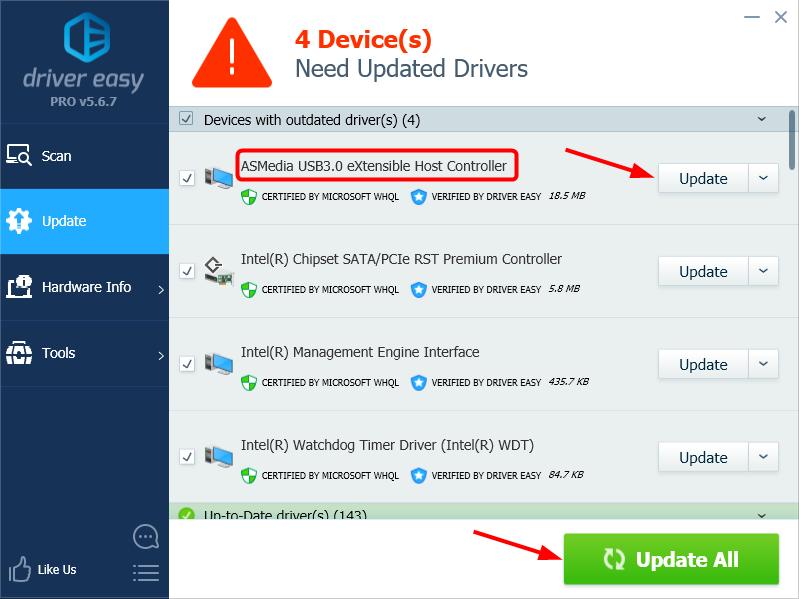
- Run Driver Easy and clickScan Now . Driver Easy will then scan your computer and detect any problem drivers.
- ClickUpdate next to any flagged devices to automatically download the correct version of their drivers, then you can install them manually. Or clickUpdate All to automatically download and install them all automatically. (This requires the Pro version – you’ll be prompted to upgrade when you click Update All. You get full support and a 30-day money-back guarantee.)
4. Restart your computer and check if your USB port now works properly. If it doesn’t, contact Driver Easy’s support team at**support@drivereasy.com ** for further assistance. They’d be happy to help you.
If you have any other suggestions or questions, please feel free to leave a comment below.
Also read:
- [Updated] Boost iPhone Cinematic Experience Essential Film Gear
- 2024 Approved Inside Look How Dell P2715Q Delivers on 4K Quality
- 2024 Approved Keeping Synchronization Fix Frame Disruptions in OBS
- DLL Installer Not Executed for crt.dll
- Fixing Windows Update Hiccups: Conquering Error 0X800705b and Related Codes
- How Do You Remove Restricted Mode on iPhone 12 Pro | Dr.fone
- How to Activate a Virtual WiFi Hotspot in Windows 11 (Fixed)
- How to Protect Your Windows Command History
- How to Say I Love You in Hungarian
- In 2024, Life360 Circle Everything You Need to Know On Lava Yuva 3 Pro | Dr.fone
- PDF Won't Print Out? Check These Rapid Remedies!
- Quick Fix Guide: Overcoming Startup Problems with AMD Catalyst Utility
- The 10 Best Tools to Bypass iCloud Activation Lock On iPhone 15 You Should Try Out
- Troubleshooting Fixes for Non-Functional Function Key Issues on Asus Computers
- Your Rendering Device Has Been Lost Overwatch Error Fix
- Title: Diagnosing and Correcting Kernel Panic Code 144 - A Comprehensive Walkthrough
- Author: Anthony
- Created at : 2025-02-10 01:29:07
- Updated at : 2025-02-17 00:55:39
- Link: https://win-howtos.techidaily.com/diagnosing-and-correcting-kernel-panic-code-144-a-comprehensive-walkthrough/
- License: This work is licensed under CC BY-NC-SA 4.0.