
Error Code 0X80073CF9 in Windows 11 Explained - Understand and Solve the Issue Today
Error Code 0X80073CF9 in Windows 11 Explained - Understand and Solve the Issue Today
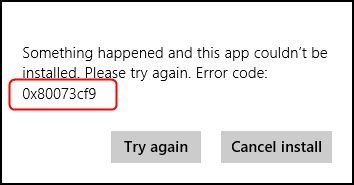
If you’re on Windows 10,8.1 or 8, and you try to install the apps from Store, you may get this error saying Something happened and this app couldn’t be installed. Please try again. Error code: 0x80073cf9
You’re not alone. Many Windows users are reporting it. But the good news is you can fix it. Go on with the easy solution below.
Note: The screens shown below are from Windows 10, but all the fixes also apply to Windows 8 too.
Please click the solution according to your Windows operating system.
For Windows 8 users:Restore AUInstallAgent directory in the Windows Folder
For Windows 10/8.1 users:Restore AppReadiness directory in the Windows Folder
For Windows 8 users: Restore AUInstallAgent directory in the Windows Folder
0x80073cf9 could be probably caused by the missing AUInstallAgent directory in your Windows 8.
To restore it:
On your keyboard, press the Windows logo key
 and E at the same time to invoke the File Explorer window.
Go to This PC > Local Disk (C:) > Windows .
 and E at the same time to invoke the File Explorer window.
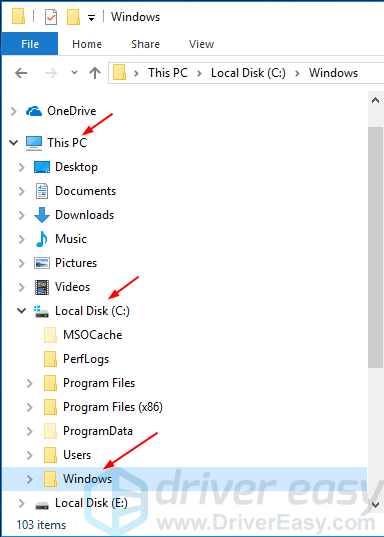
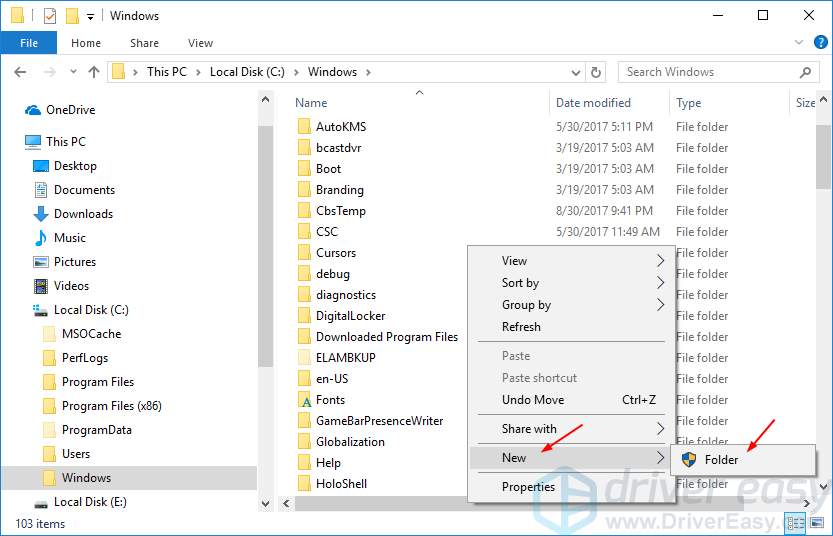
- Right-click on the blank area to click New , then Folder .
ClickYes when prompted by User Account Control.
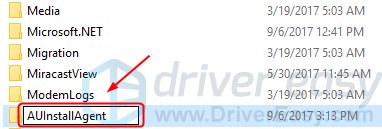
Name the new folder: AUInstallAgent .
- Reboot your Windows 8. Then go to the Windows App Store to install the app again to see if it’s successful.
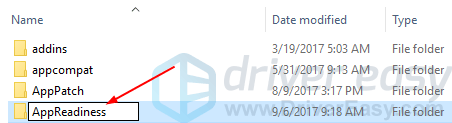
For Windows 10/8.1 users: Restore AppReadiness directory in the Windows Folder
0x80073cf9 could be probably caused by the missing AppReadiness directory in your Windows 10 or 8.1.
To restore it:
- On your keyboard, press the Windows logo key and E at the same time to invoke the File Explorer window.
- Go to This PC > Local Disk (C:) > Windows .
3) Right-click on the blank area to click New, then Folder .
ClickYes when prompted by User Account Control.
Name the new folder: AppReadiness .
- Reboot your Windows 10/8.1. Then go to the Windows App Store to install the app again to see if it’s successful.
Also read:
- [Updated] Holistic Motion Analysis 2023
- How To Fix 'Windows 11 Couldn't Be Installed Error 80240020 - Expert Solutions Revealed
- How To Transfer WhatsApp From iPhone XS to other iPhone 14 devices? | Dr.fone
- Korean Weekday Translations: A Simple Handbook
- Mastering Accurate Typing: Remedying the Issue of Miskeyed Letters
- Overcoming Error 0X8024002e: Your Ultimate Guide to Updating Windows Successfully [FIXED]
- Save Big on Apple AirTags: Walmart's Labor Day Offer Slices $24 Off the 4-Pack - ZDNET
- Step-by-Step Solution for the 'Download Timed Out' Problem
- Tips for Non-Vid Based Self-Education Success for 2024
- Top Apps and Online Tools To Track Lava Phone With/Without IMEI Number
- Troubleshooting 'Input Unsupported' Errors on Your Display Device
- Understanding the 10 Causes of iPhone Screen Brightness Adjustment
- Title: Error Code 0X80073CF9 in Windows 11 Explained - Understand and Solve the Issue Today
- Author: Anthony
- Created at : 2025-01-15 16:41:59
- Updated at : 2025-01-19 18:29:06
- Link: https://win-howtos.techidaily.com/1723204990574-error-code-0x80073cf9-in-windows-11-explained-understand-and-solve-the-issue-today/
- License: This work is licensed under CC BY-NC-SA 4.0.